Oil production · well servicing
Well servicing from wellhead dismantling to reassembly
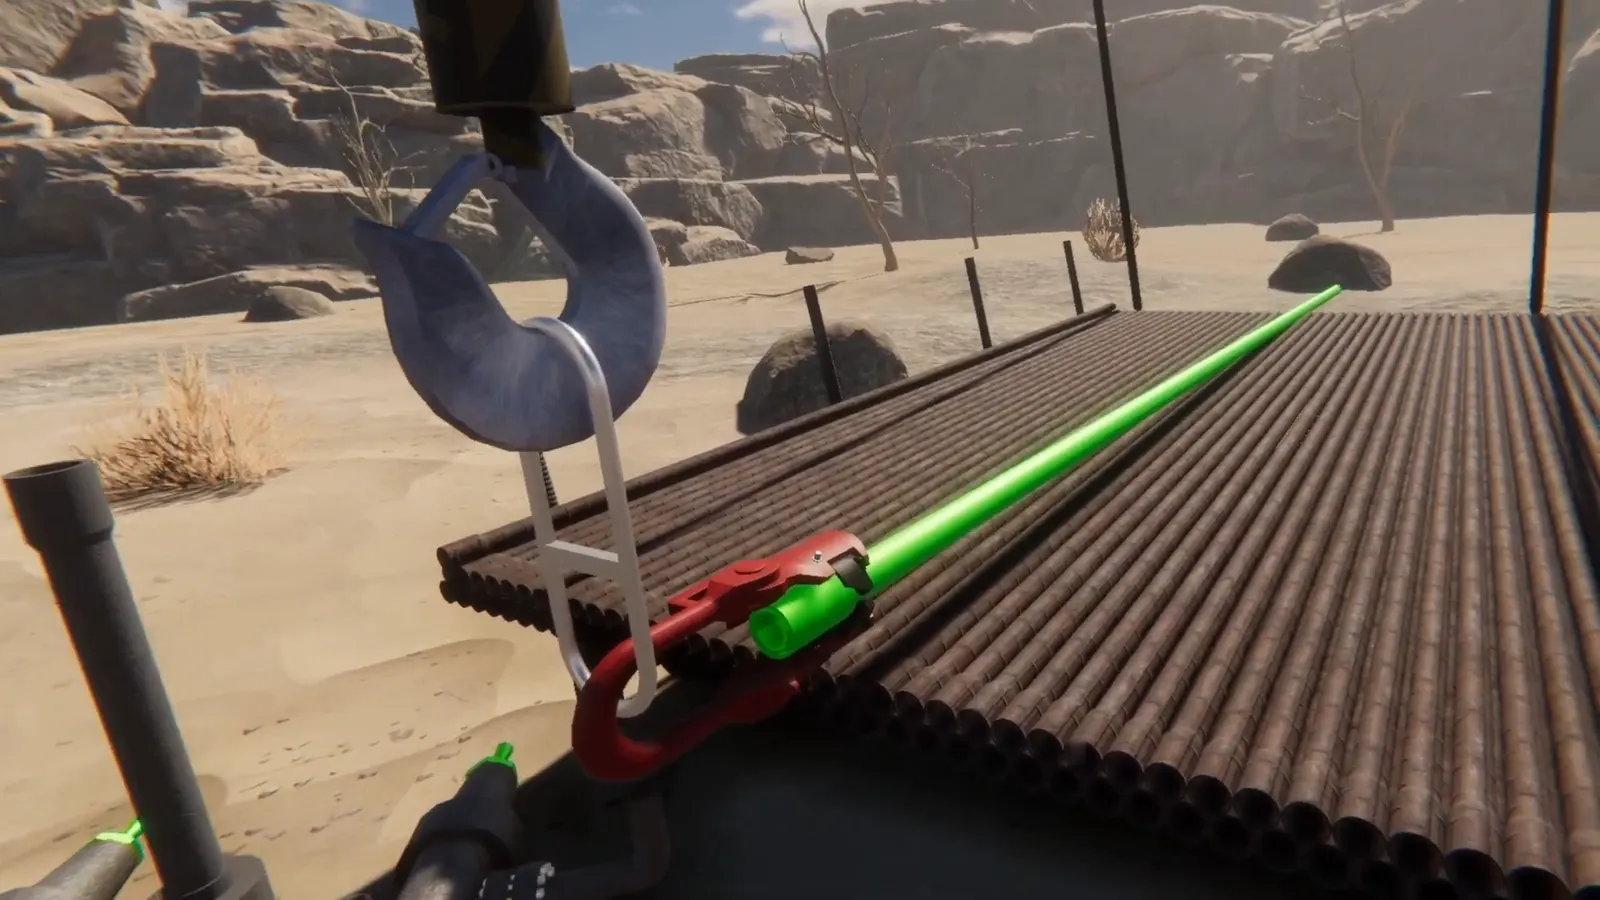
Six linked scenarios in which a well servicing operator works through the full cycle by hand: dismantles the wellhead, pulls and runs rods and tubing, and puts the wellhead assembly back together.
- Scenarios
- 6 scenarios, about 160 steps
- Equipment
- ETA-60, rod elevator, spider, power tong
- Models
- Key equipment modeled in-house
- Status
- Pilot version (2025 prototype)
Challenge
Well servicing is repetitive but dangerous work: heavy equipment overhead, rotating tongs, pressure in the well. A mistake in the sequence can lead to an injury or an accident.
New operators learn on live wells, during real servicing jobs.
Solution
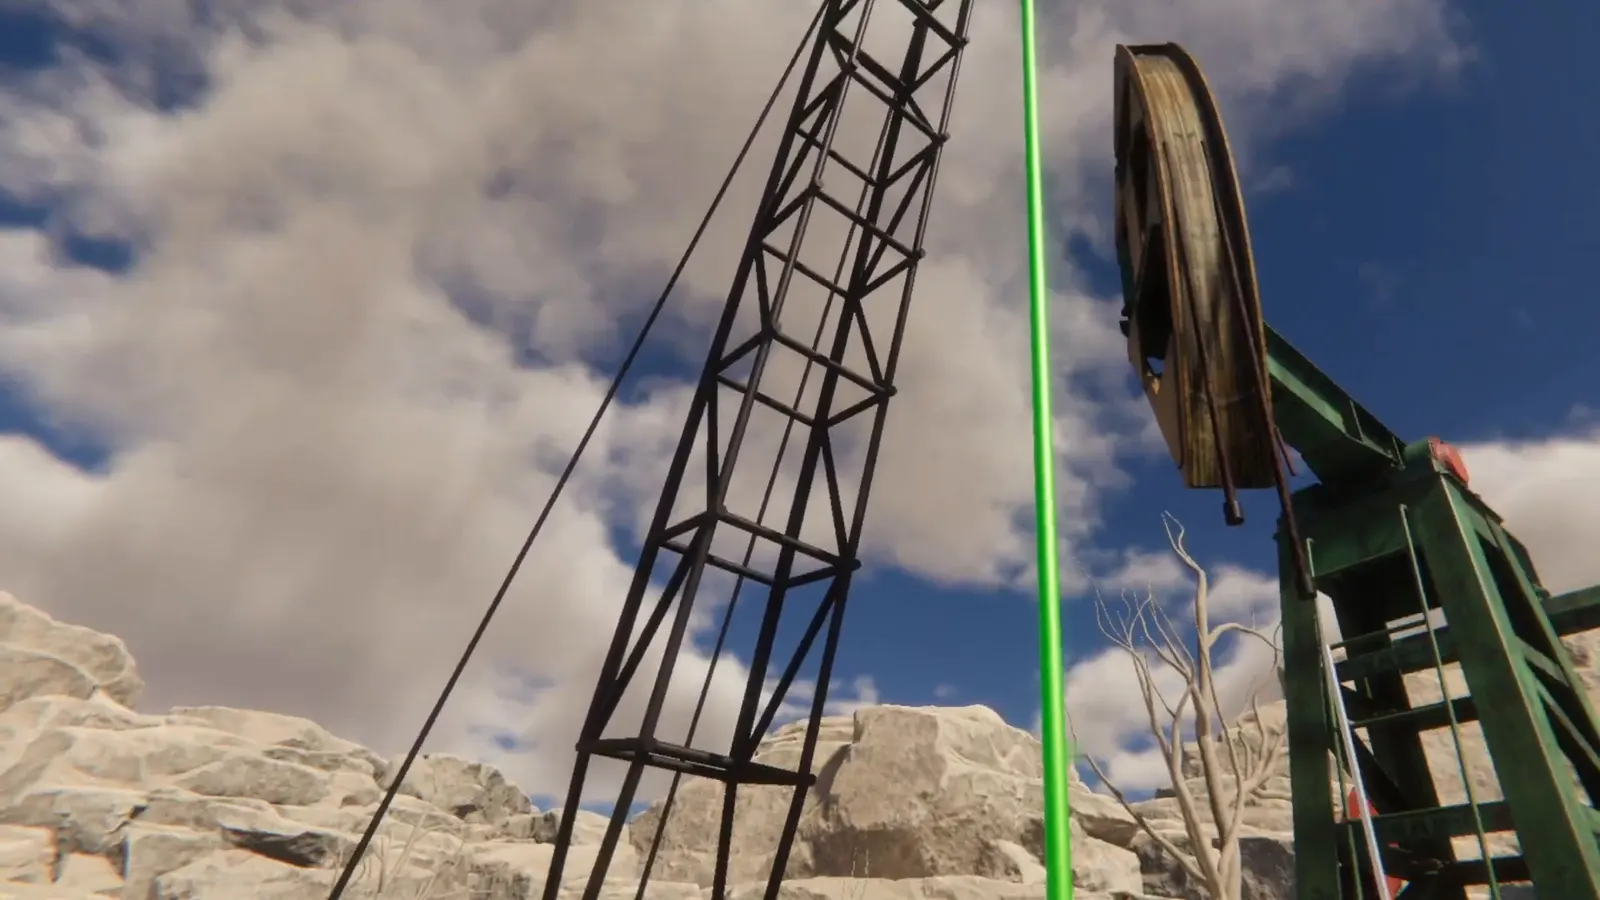
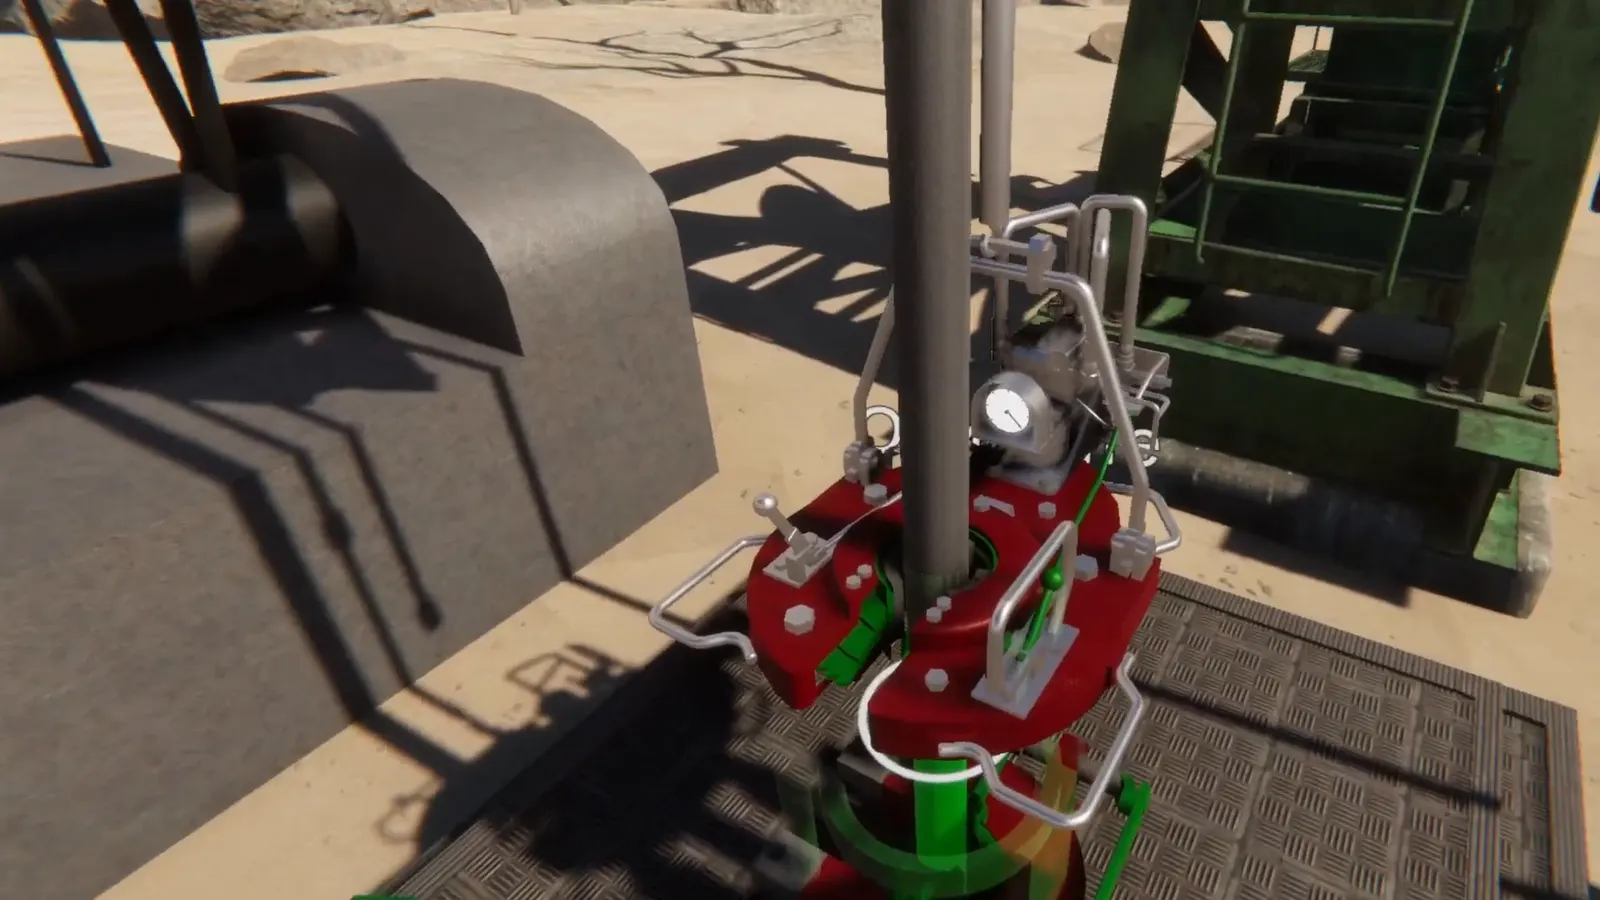
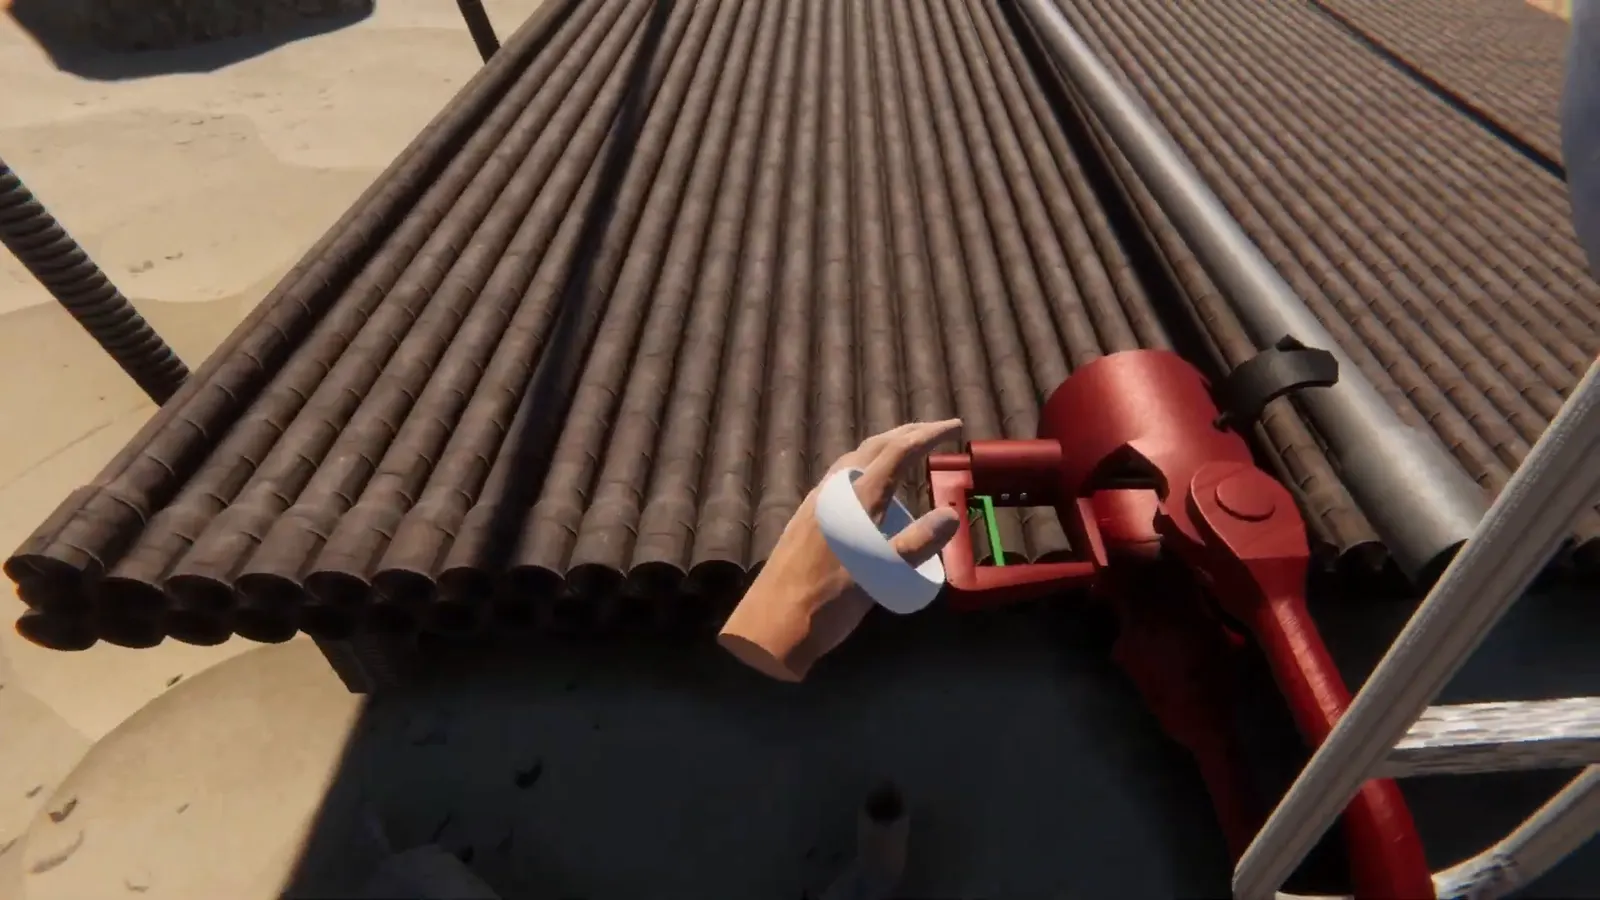
We recreated the well site with a pumpjack, pipe rack and tools. Every tool is physics-driven: the ETA-60 jaws open with a trigger, the spider lever moves the linkage, the power tong turns the pipe.
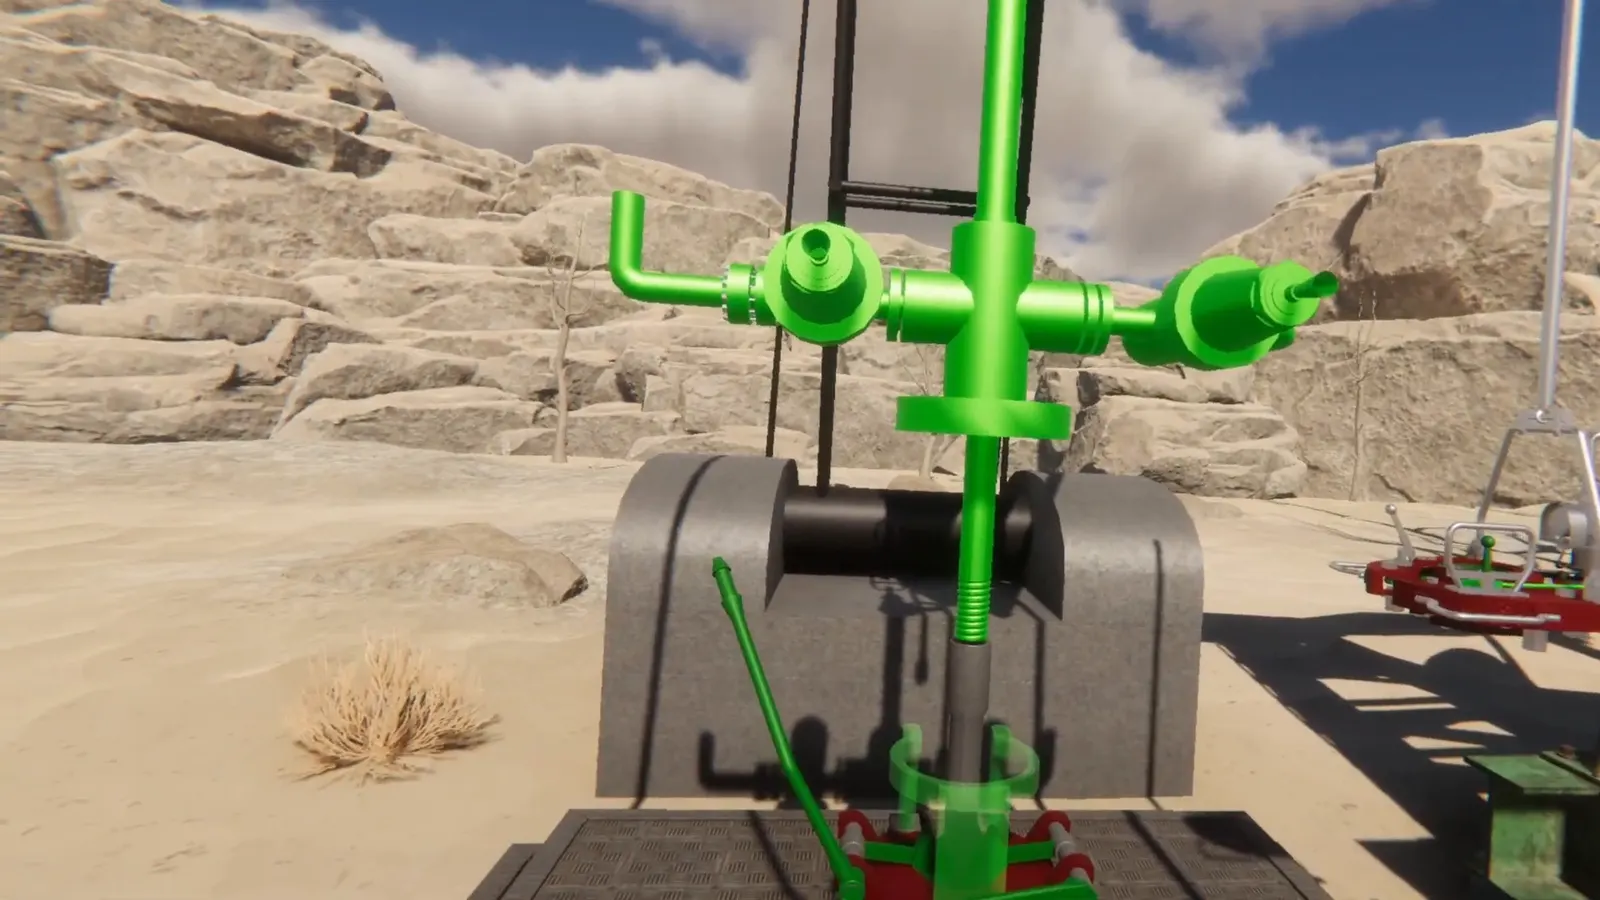
Holograms show where each component goes, and on-screen text says what to do next. The steps follow the work instruction, pulling and running are practiced on two rods and one or two tubing joints, and a scenario can be replayed from the start.
Six well servicing scenarios
01
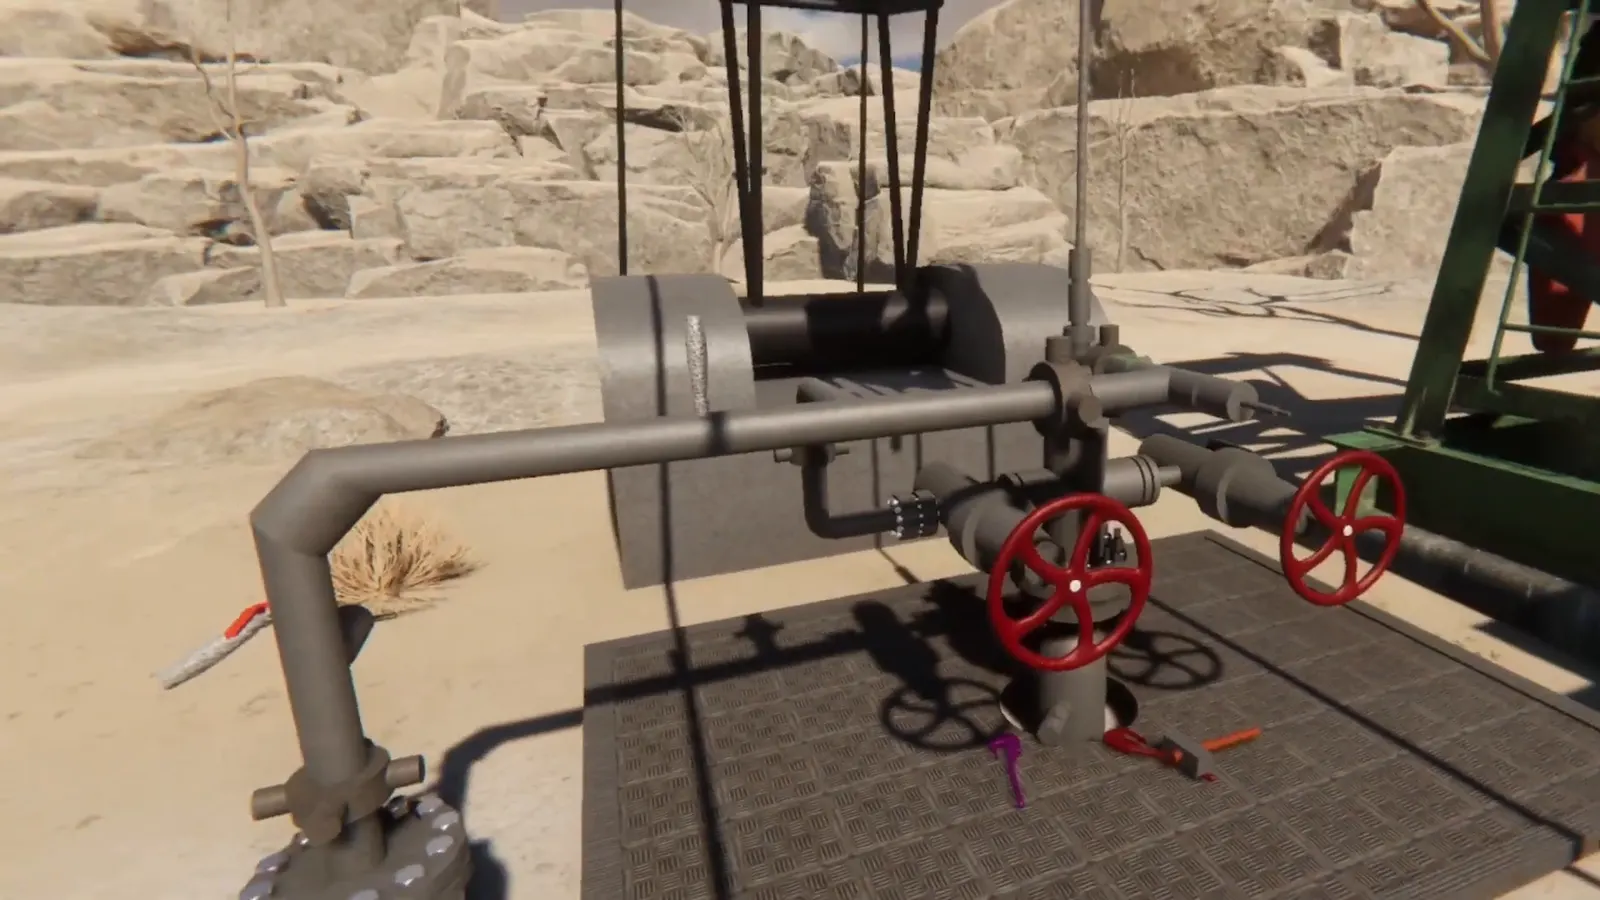
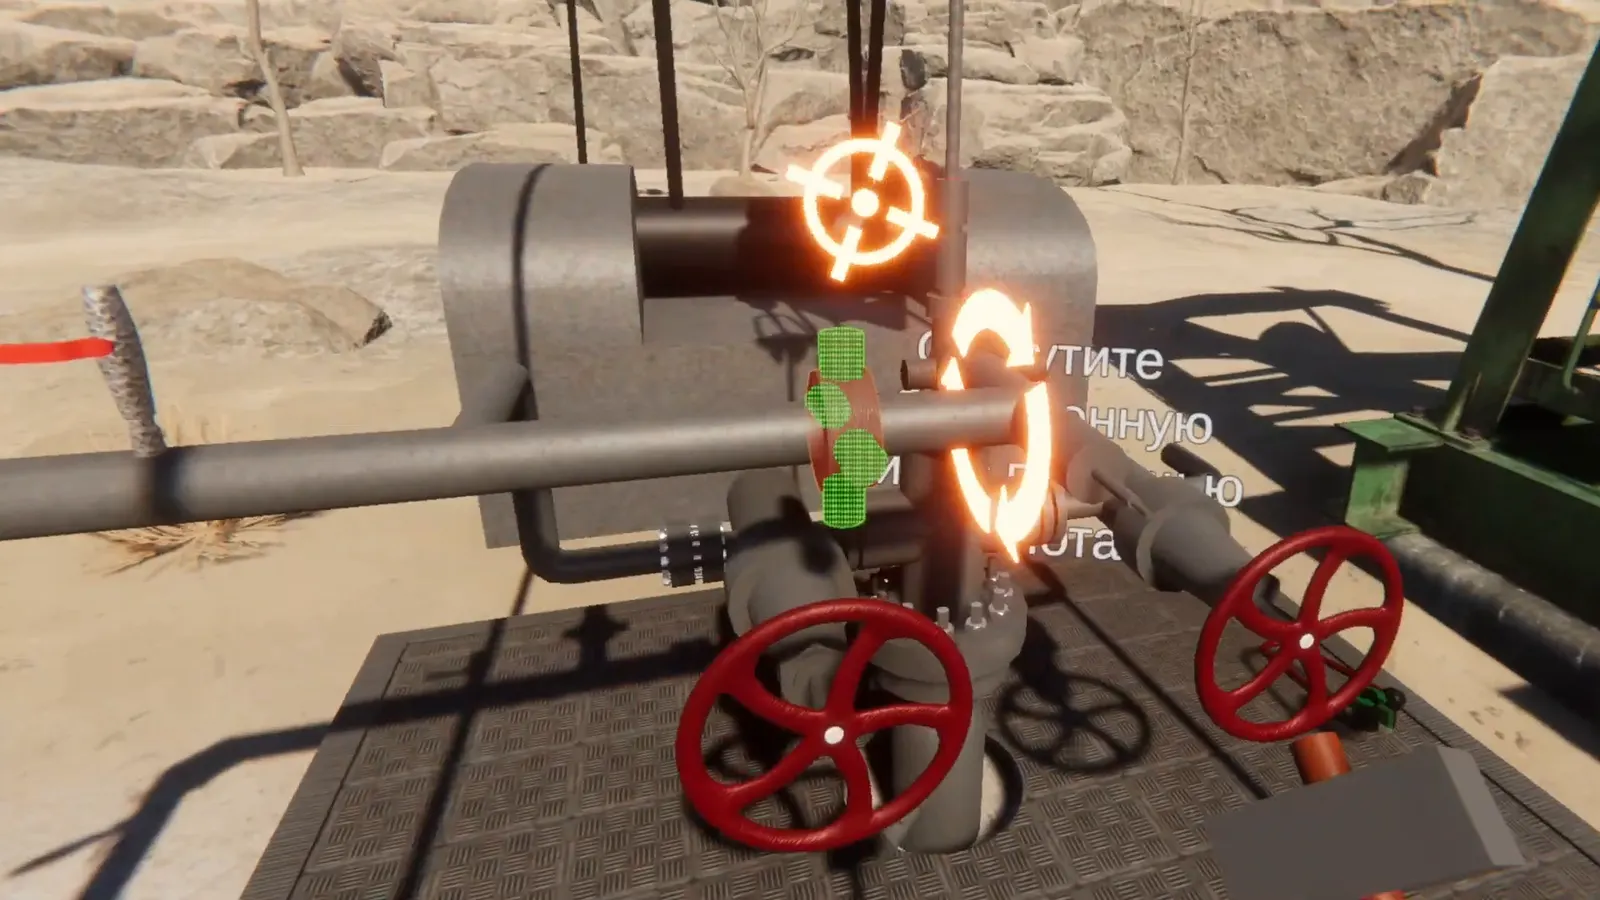
Dismantling the wellhead
20 steps. Dismantling starts only after confirming there is no pressure in the line.
- Close the gate valve and open the bleed valve to check for pressure
- Make sure no fluid comes out of the bleed valve
- Close the second gate valve
- Loosen the hammer unions with a sledgehammer
- Lift and rotate the wellhead assembly
- Fit the rod elevator and close the latch
- Break out the connection with rod wrenches
02
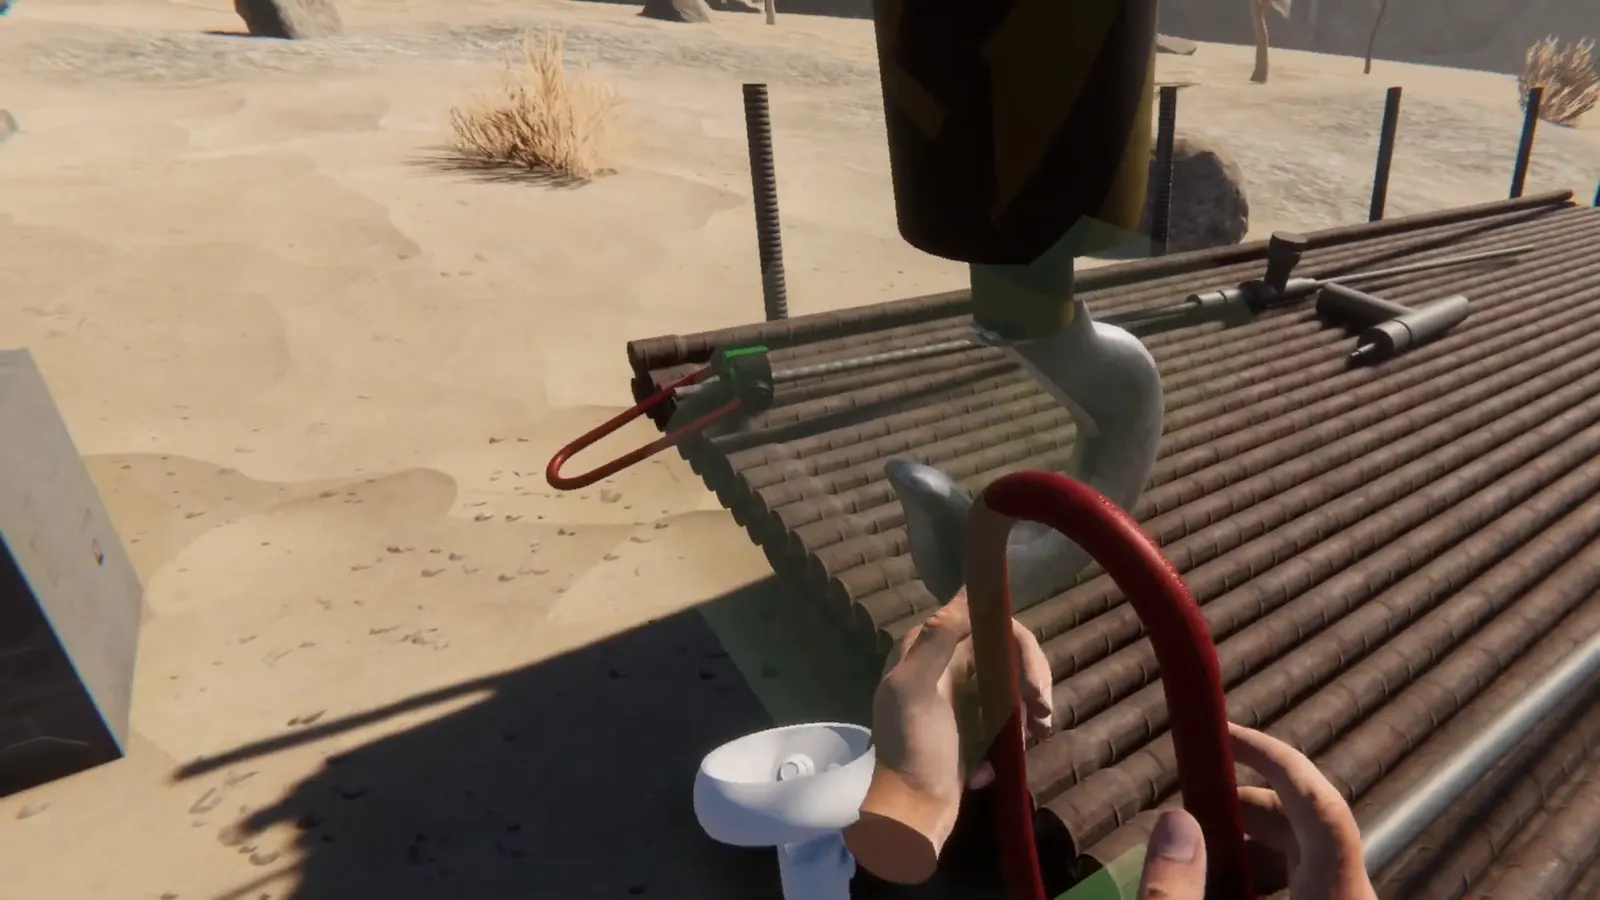
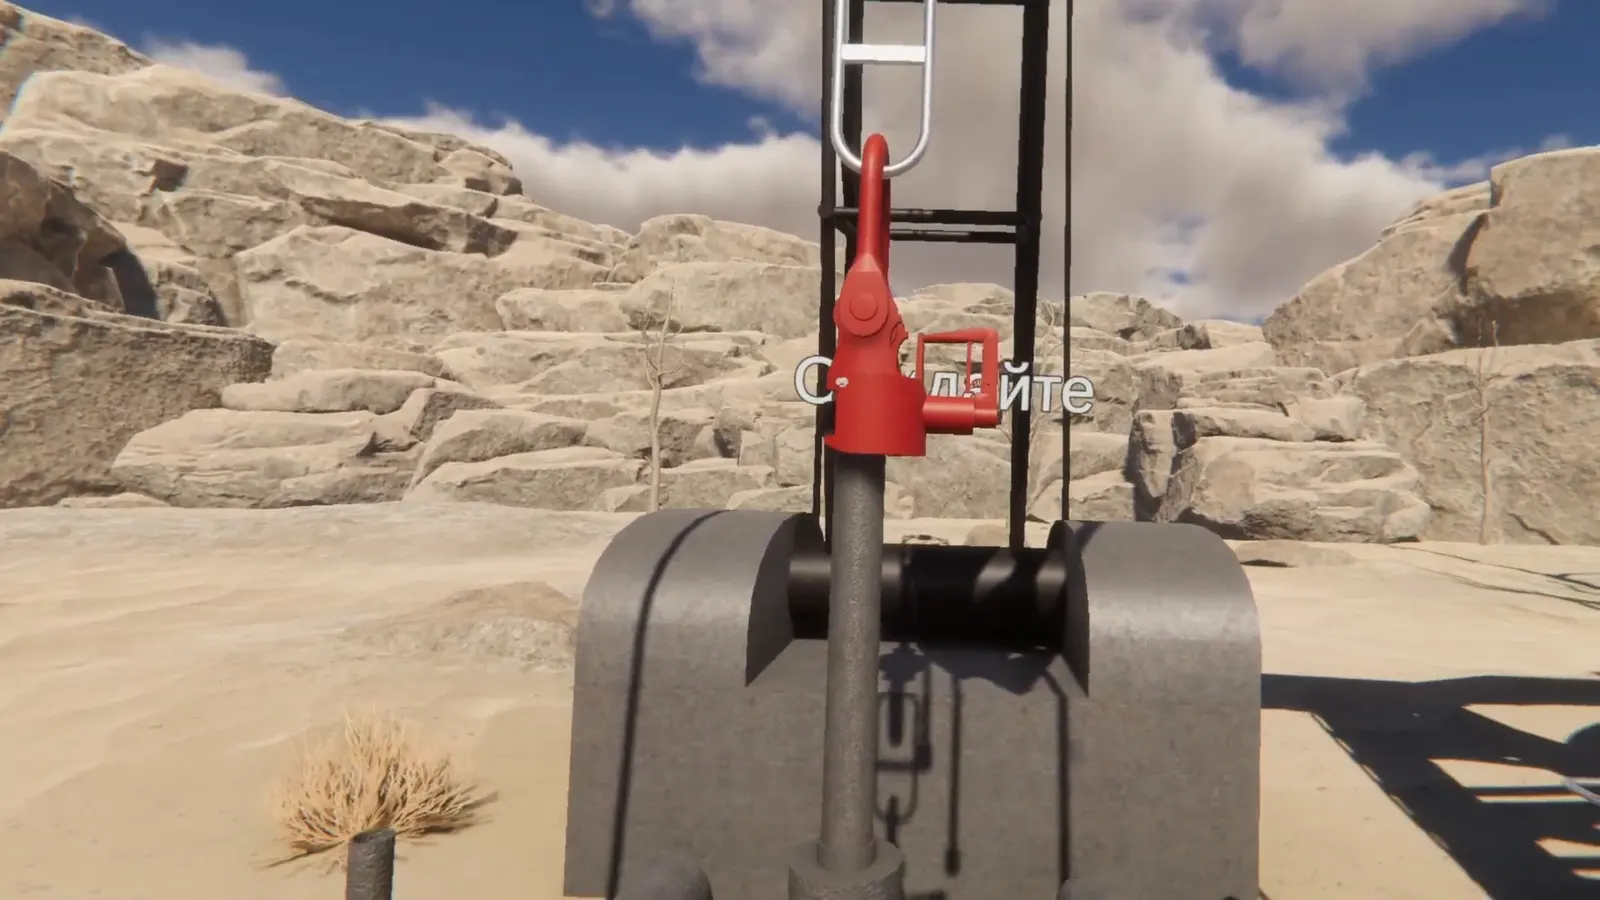
Pulling rods
Setup, then a 14-step cycle for each of the two rods.
- Take the rod elevator off the hook and secure it on the rod
- Close the latch and hang the rod elevator on the hook
- Break out the rod with a rod wrench
- Take the rod off the hook and move it away from the well center
- Repeat the cycle for the second rod
03
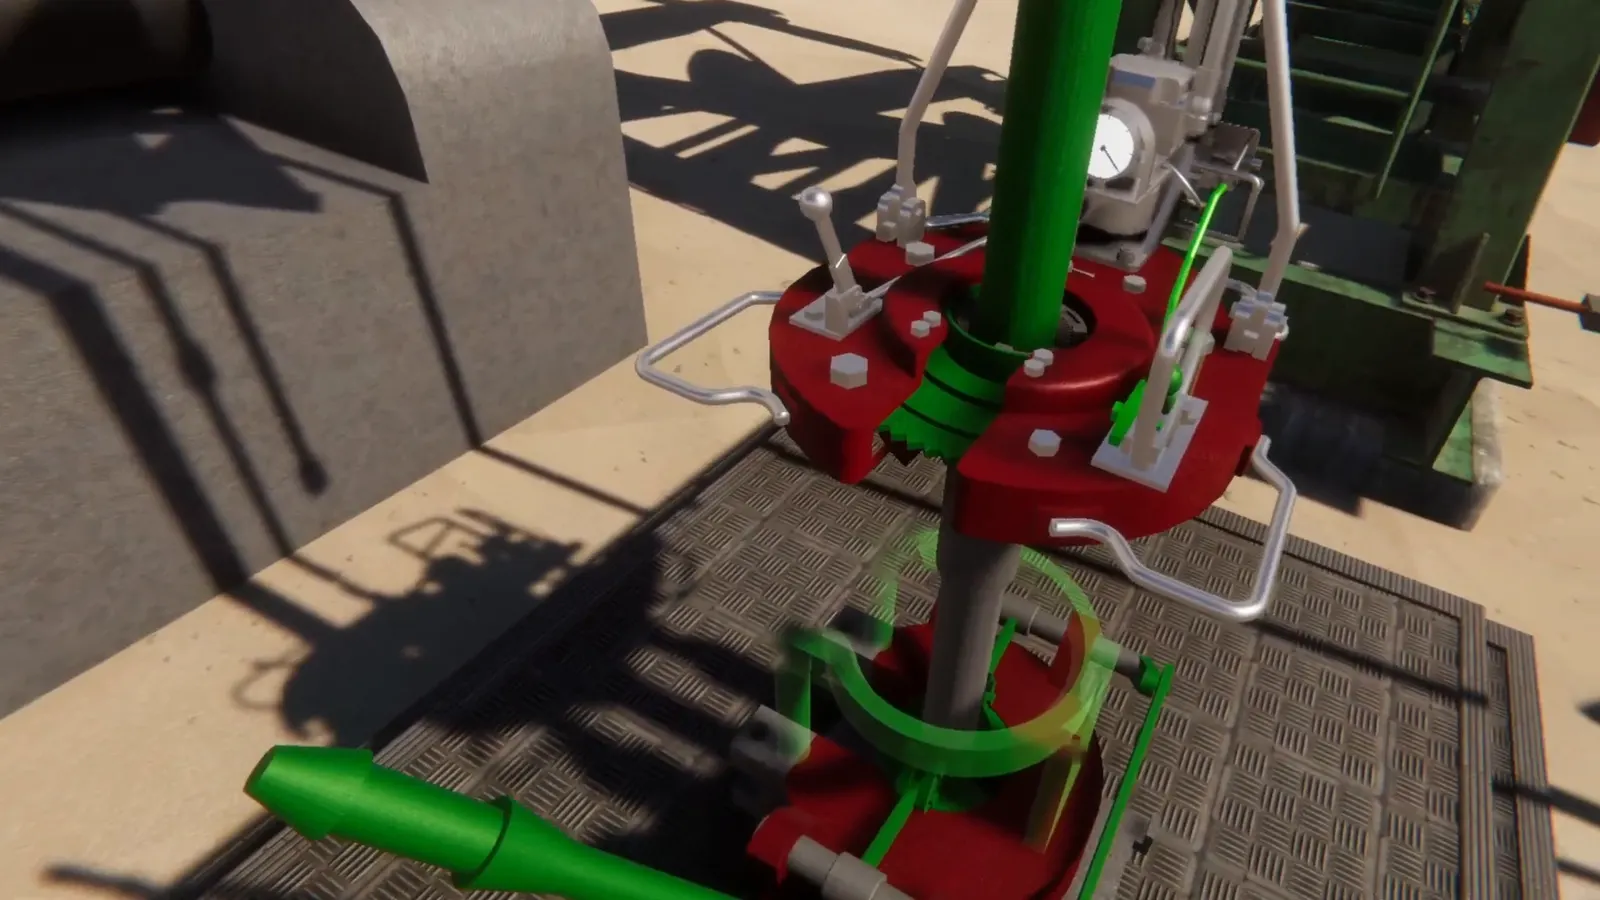
Pulling tubing
An 18-step setup, then pulling one joint in 13 steps.
- Hang the ETA-60 on the hook and close the latch
- Grip the string with the ETA-60 elevator
- Set and close the spider
- Loosen the cross: 10 sledgehammer blows
- Position the power tong and break out the joint
- Lay the joint on the pipe rack
04
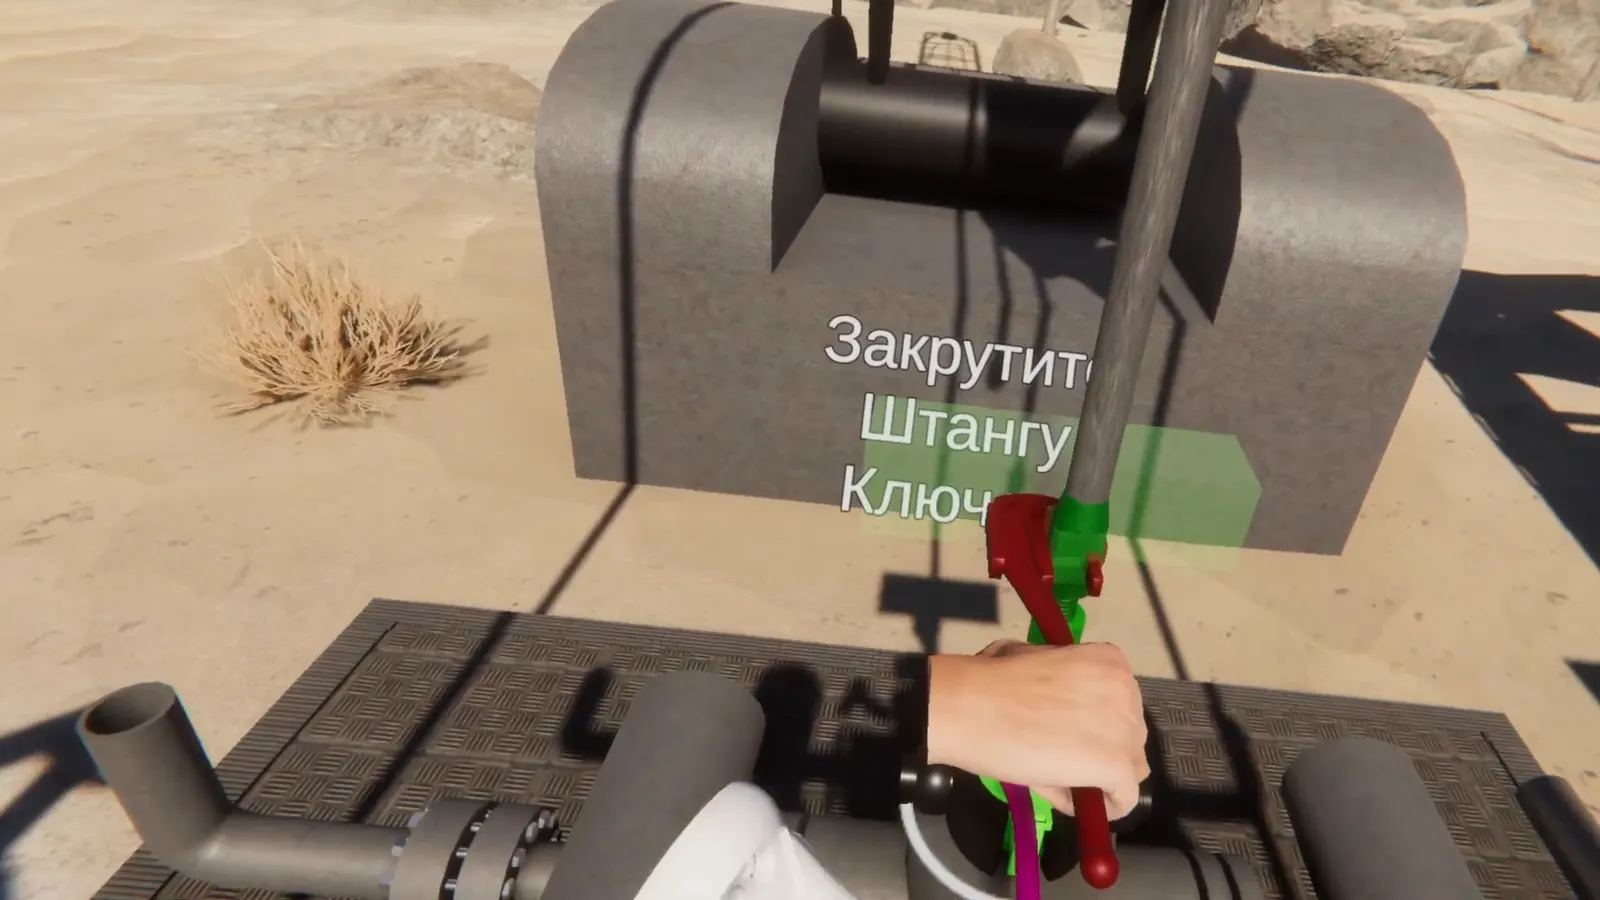
Running tubing
Three parts: the first joint, the make-up cycle, landing the string.
- Close the ETA-60 on the joint and bring it to the wellhead
- Close the spider and unhook the ETA-60
- Make up the connection with the power tong
- Open the spider and lower the string
- Make up the wellhead, remove the spider and the ETA-60
05
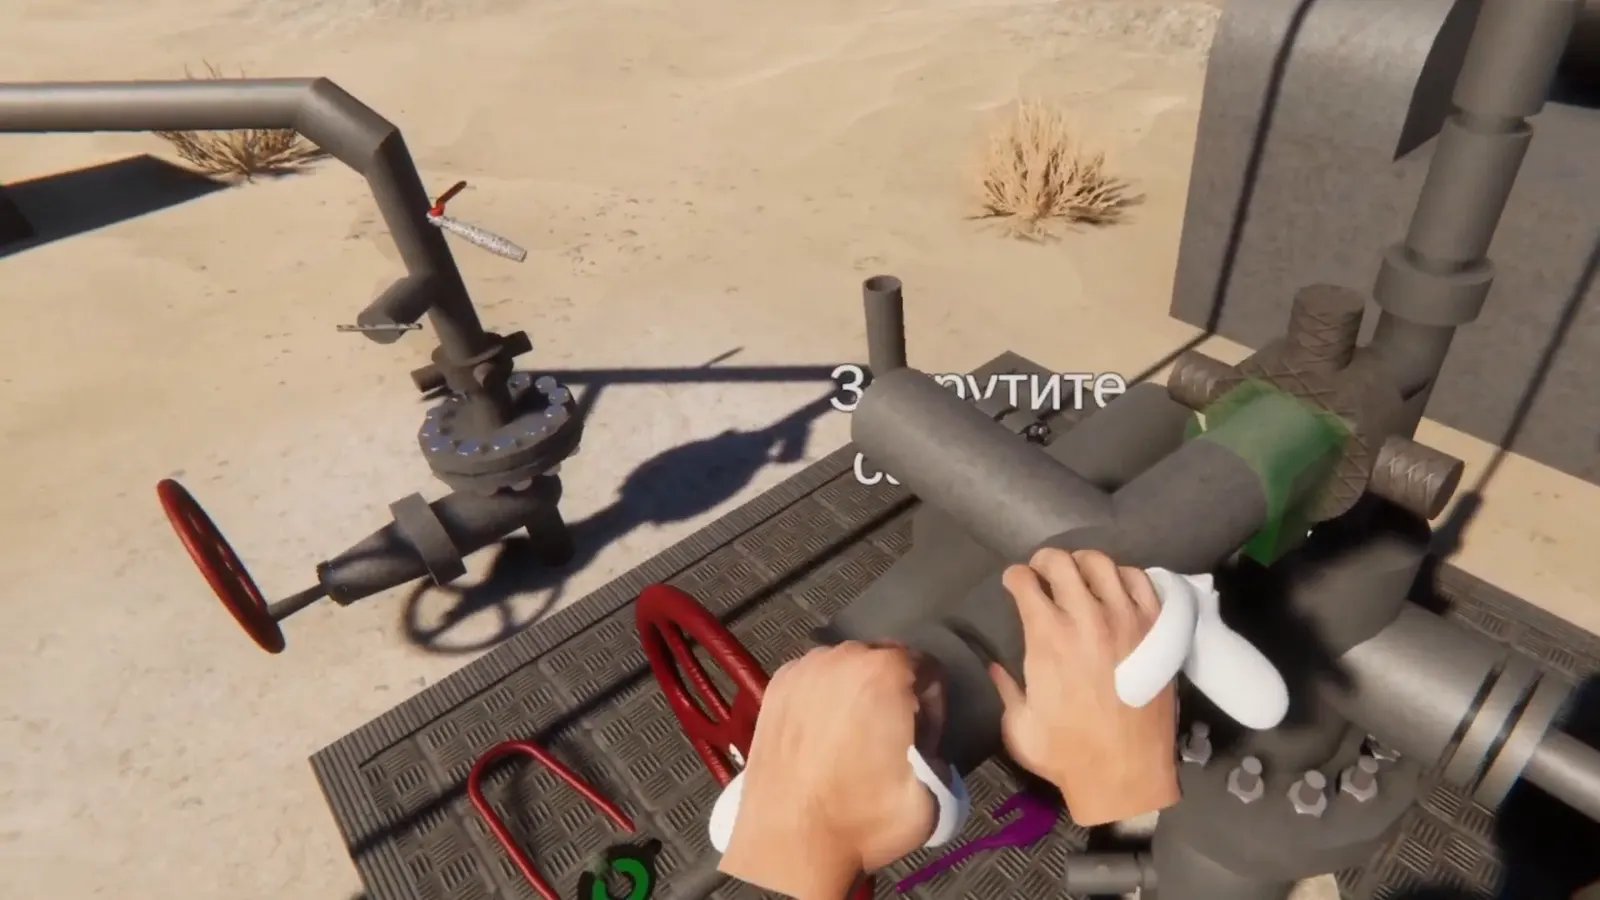
Running rods
Two rods: the first in 8 steps, the second in 13.
- Fit the rod elevator on the rod and close the latch
- Hang the rod elevator on the hook and bring the rod to the wellhead
- Make up the rod with the wrench
- Release the latch and take the rod elevator off the hook
06
Reassembling the wellhead
20 steps: reassembling the wellhead and opening the gate valves.
- Lift the stuffing box assembly on the rod elevator
- Make up the assembly with rod wrenches
- Install the pup joint and tighten the unions with a sledgehammer
- Reconnect the flowline
- Open the gate valve and close the bleed valve
Need a simulator for your crews?
Book a demoWhat you need to run it
- Headset
- Meta Quest 3 or 3S
- Computer
- PC with an RTX 4070-class graphics card: the simulator runs with the headset connected to the PC
- Space
- A clear area of about 2 × 2 m per station
- Internet
- Only for the initial headset setup
- Languages
- Russian; we add Kazakh and English during rollout
Results
- All six well servicing scenarios can be completed through to the last step: about 160 steps, 114 of them operator actions.
- During rollout, we add a log, an exam mode, and error and time tracking. In a 4–8 week pilot, we compare your group with a group that had a conventional briefing.
- The ETA-60, rod elevator, spider and power tong models are suitable for new scenarios: workover and well completion.